Side Buckle Pattern Hack for the Coquelicot Skirt
- Melanie Boivin
- Oct 8, 2021
- 3 min read

Updated: Nov 6, 2024
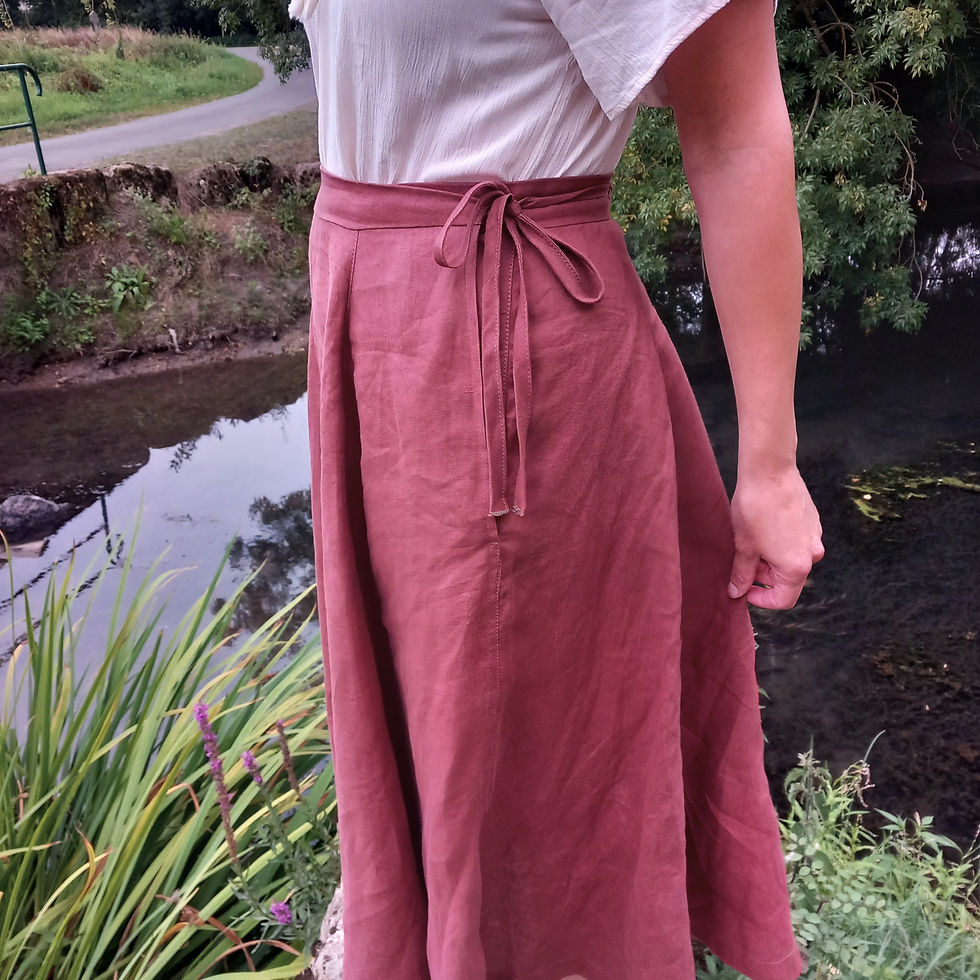
Today I am sharing how you can omit the ties from the Coquelicot skirt and replace them with adjustable buckles using leather, pleather (or similar material) and D rings to create a totally new look to this pattern! This is perfect for Autumn and switching your wardrobe from summery "cottagecore" to intriguing "dark academia", or even light academia? Either way it's a great idea for whichever aesthetic you're into!

I love how this elevates this skirt to a whole new level! And it is simpler than it looks! I have also created a template for the straps, which are included in a free PDF download below:
For this project you will need:
about a 10 cm x10 cm (8"x 8") piece of leather or similar material - pleather, cork etc. (you can find inexpensive leather scraps at certain fabric stores, or even repurpose an old leather handbag from the thrift store)
4 D rings (Additional to the 2 already required for View A if that's the version you are sewing)
Top stitching thread (I recommend Guiterman Mara 70)
Leather needle for your sewing machine (I used a denim needle, but shhh don't tell)
Glue stick
Wonder tape - or any wash out double-sided tape for sewing
For this version, I switched it up, and I cut my skirt panels on the fold, so that the bias is on the side seams rather than at the middle. This changes the drape a bit, and I quite like it! It depends on the look you are going for, and also fabric choice. If you want a chevron appearance with a striped fabric - then cut out normally as stated on the pattern, but if you like more draping along the side of the hips, and flatter at the front, then try cutting on the fold. Depending on your size, and fabric width, larger sizes may have to cut along the opposite grain line (along the weft) if it works for your fabric and print direction.

I used a cotton flannel for this skirt, and I cut out the pattern at regular length instead of petite length to make this one a bit longer for winter. For reference, I am 5ft 2" or 157 cm.
Step by step Instructions:
Step 1: Cut out pattern pieces (for either view) and omit the ties, and cut out your buckle template.
Step 2: Sew everything normally except for Step 9, since we are omitting the ties, attach the front waistband to the front skirt RS (right sides) together, with the edges of the SA (seam allowance) at the short edges turned to wrap around to the wrong side. Sew at 1.5cm SA, and press upwards.


Step3: Press in the SA along the short edges of the waistband by 1.5 cm and then press SA along the top edge inwards before folding the waistband in half WS together to close up the waistband. Top stitch about 2 mm or 1/8th inch on the right side of the waistband, ensuring you are capturing the waistband on the other side.

Step 4: Top stitch along the short ends as well.


I used a soft leather:

Use your buckle template to trace out 2 shorter pieces...

.....and 4 of the longer pieces.

Step 5: Insert 2 D rings in the centre of each short piece and use a glue stick to apply glue on the wrong side of the leather and then fold them together. This helps a lot to ensure they don't shift about when sewing!


Step 6: Use Wonder tape to apply to the leather piece, to stick in place. You can use a clip, or even the glue stick again, but I found this works best. Place the d ring leather buckle piece on each end of the front skirt waistband.

Step 7: Top stitch the buckle in place about 2-3mm 1/8th" from the edge.

I chose to use a constrasting thread, this is the Mara 70 by GÜTERMANN, in colour "Sand" which I purchased from Blackbird Fabrics.

Front skirt piece:

Step 8: On the longer piece, sew along the tie end about 2-3 mm, or 1/8th inch around the (before attaching it to the back skirt), then apply the wonder tape to the opposite end that is larger and rounded, and place it so that the tie end is facing towards the pocket. I placed mine about 10 cm or 4" from the tip to the edge of the pocket seam.

Top stitch it down, then repeat for the opposite side.

Finished buckle attached:


Hope you liked it! I'd love to see you create this look! Follow and share on the hashtag: #wfcoquelicotskirt