
Side ties & 3 panel skirt Pattern Hack for the Coquelicot Skirt
- Melanie Boivin
- Aug 20, 2025
- 4 min read

Updated: Sep 30, 2025
Here is a subtle hack for the Coquelicot skirt that will give it a whole new look! This hack changes the ties from large ties that tie at the back or wrap to tie at the front to cute little side ties instead, as well as a different way to cut the skirt panels!
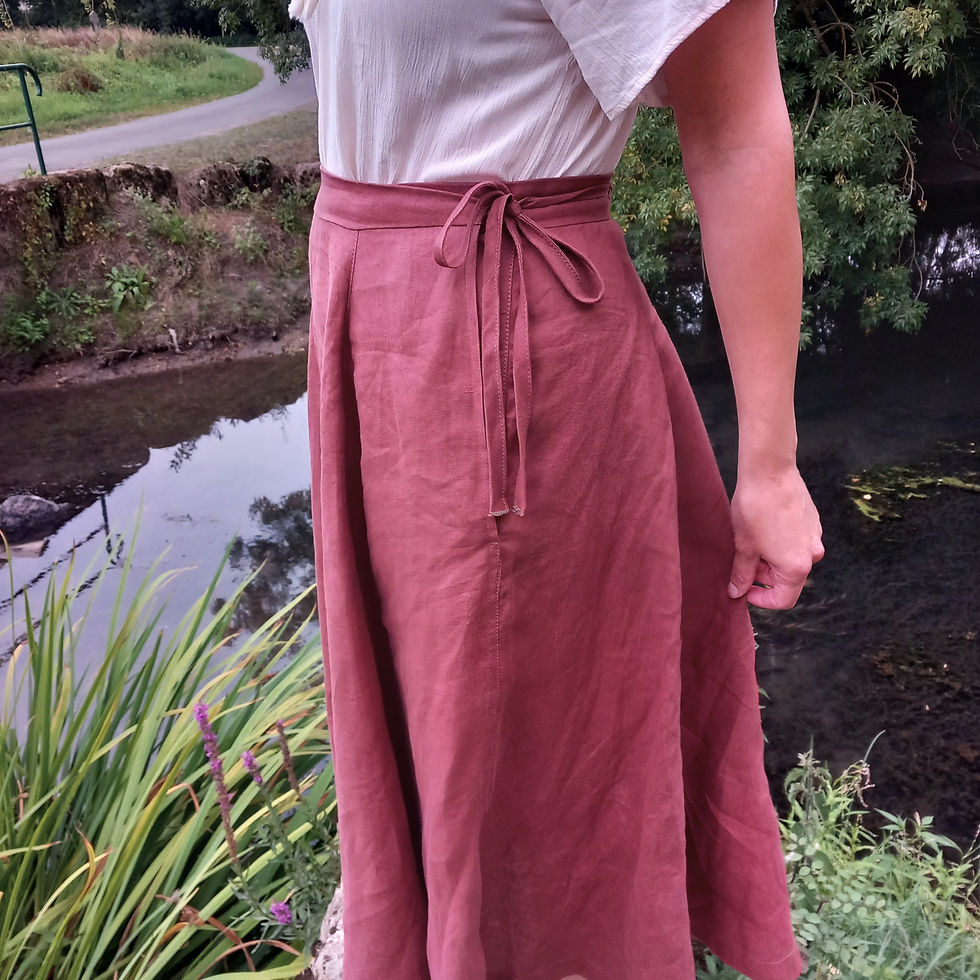
For this hack, we will be using View A of the skirt pattern. The original pattern you can see that the grainline is straight along the side seams and goes to the bias at the center front. This creates more drape at the center front and is great for playing with stripes as you can get a neat chevron effect at center front. But I was wanting something a little different and I love the look of the seamlines between center and the side seam, like where a dart may be placed or princess seams. This also changes the center front so that the center is on the straight grain and this way is avoids any seams being on the true bias which reallt helps prevent distortion of the fabric and reduces the need to have to hang the skirt to let the hem drop, then trimming the excess before hemming.
I also lengthened the skirt using method two from this blog post: https://www.wildflowerdesignpatterns.com/post/the-coquelicot-skirt-faq-s
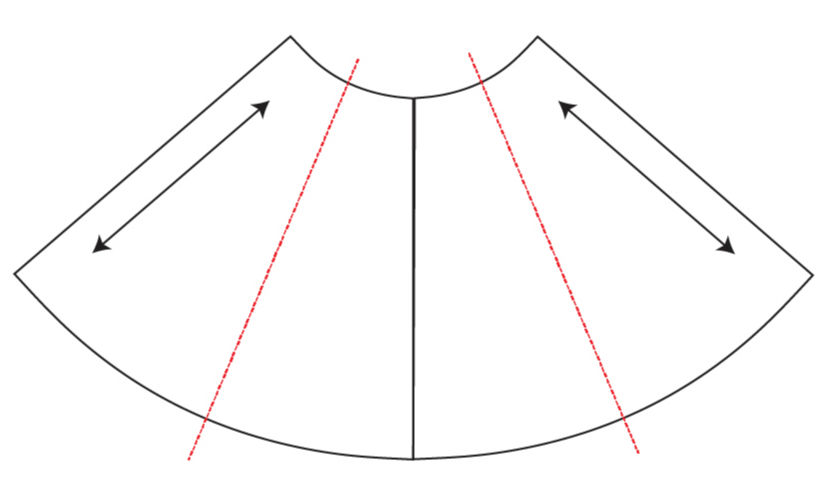
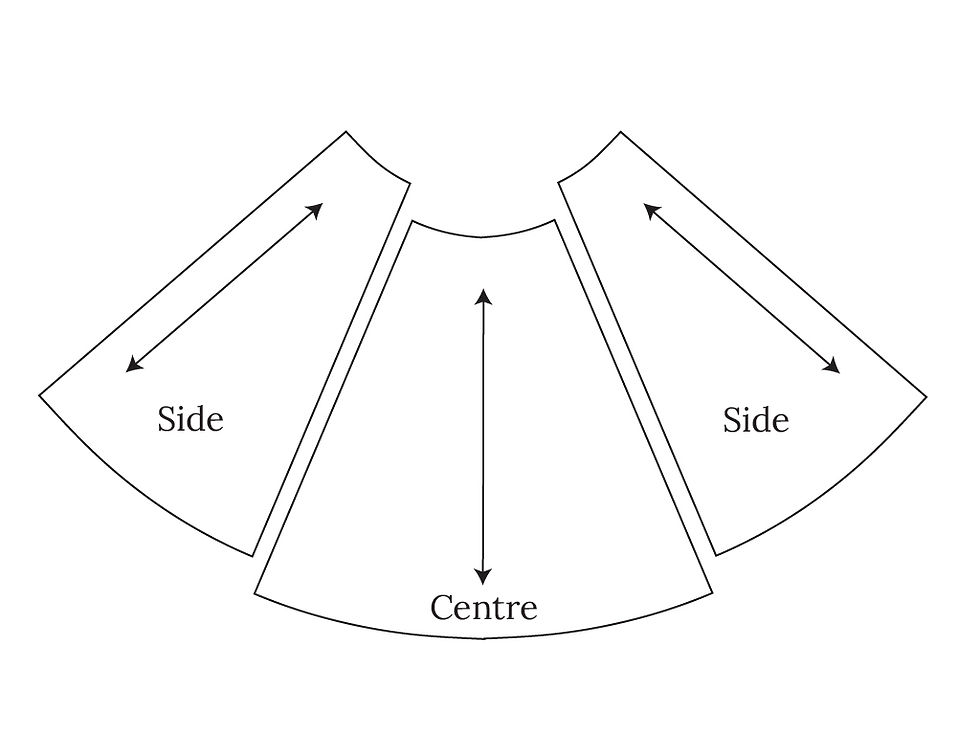
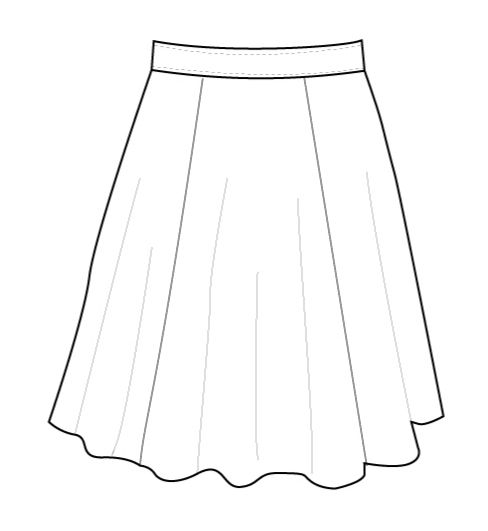
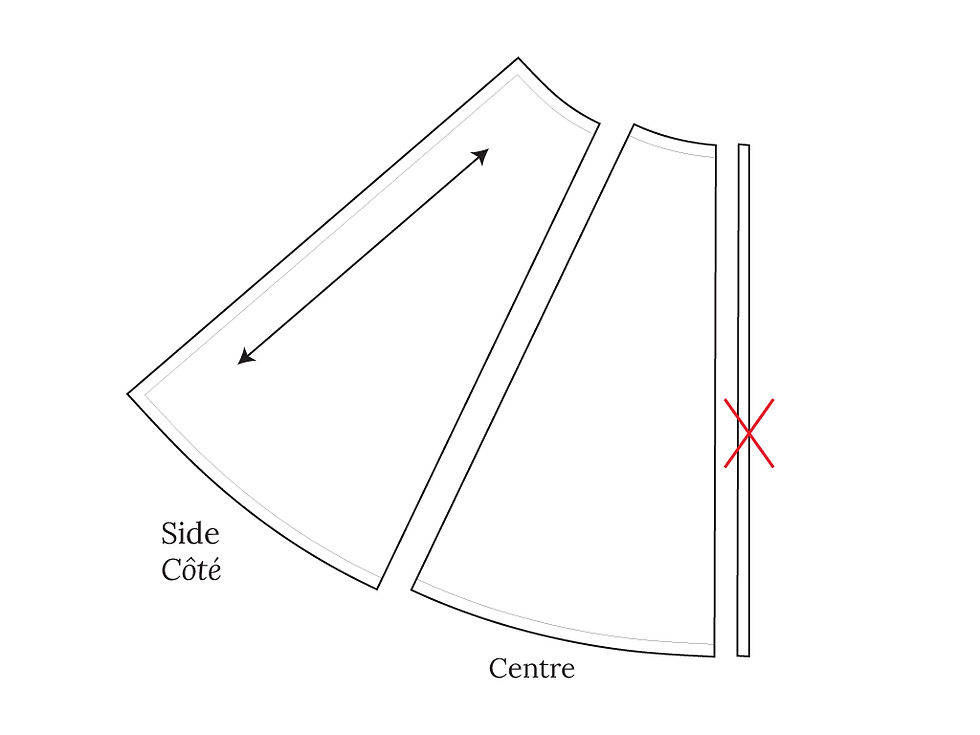
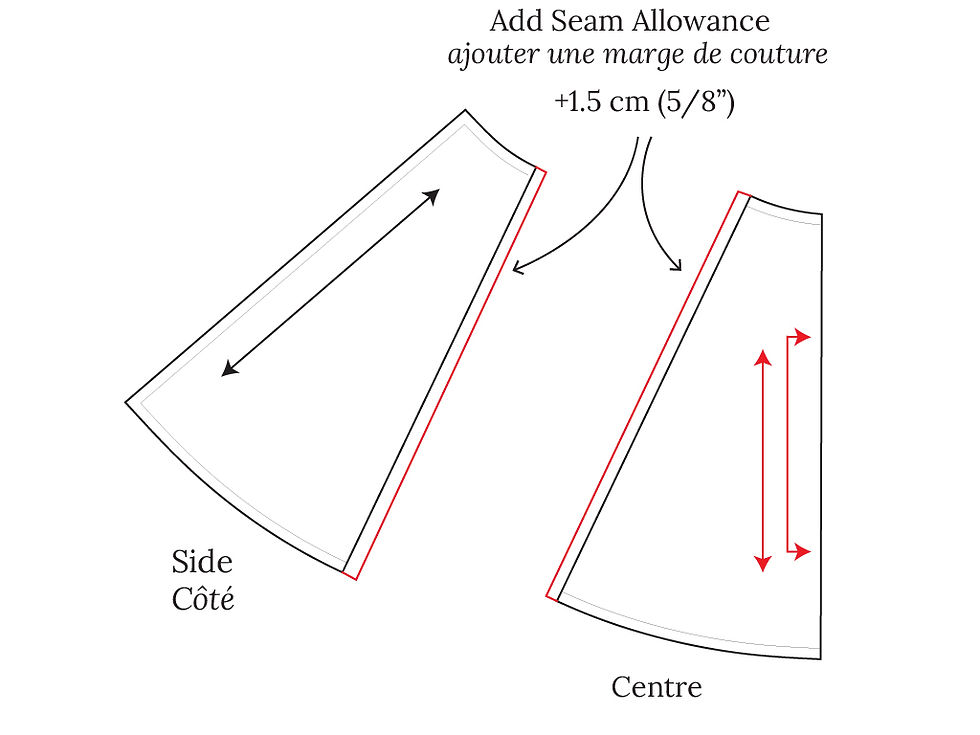
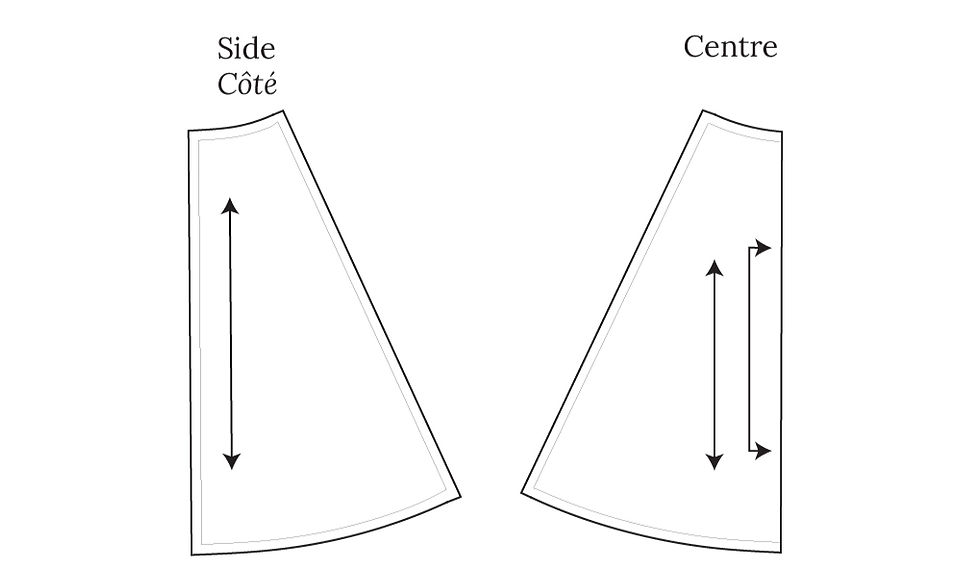
Here is an overview of how we will be adjusting the skirt panels. You can see in the first picture the skirt panels as how they would be sewn together in the original pattern with the grainline along the side seams. Picture 2 shows where our new seamlines will be and picture 3 and 4 shows the new skirt panels and how that would look like sewn up.
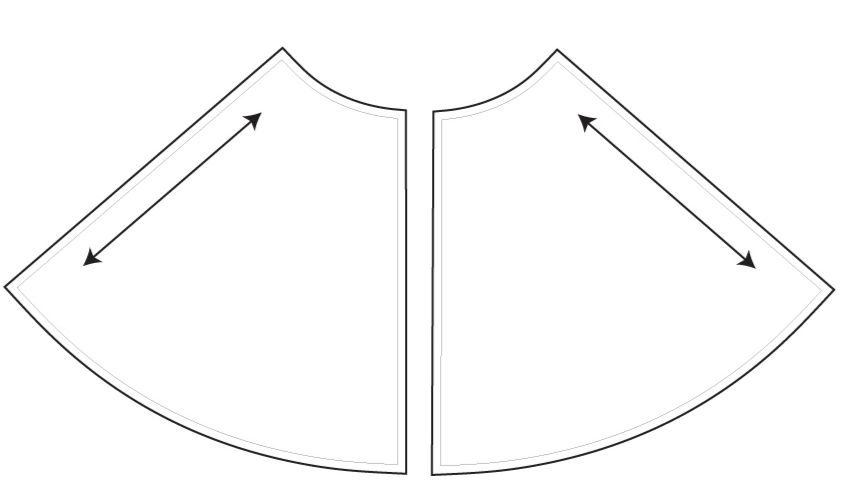
Skirt Panels:
To adjust the skirt you will need to do this same adjustment to the front skirt panel and then the back skirt panel separately.
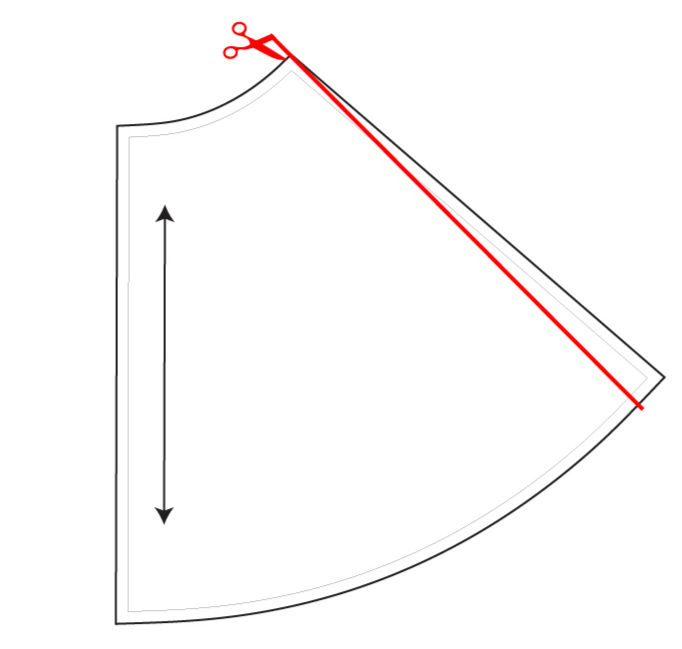
Step 1: Find the center of the pattern piece.
The easiest way I found to do this is to fold the skirt panel in half so that the edges of the hem meet together as well as the edges of the waistline meet together. Cut along this line, then cut off the seam allowance from the center front.
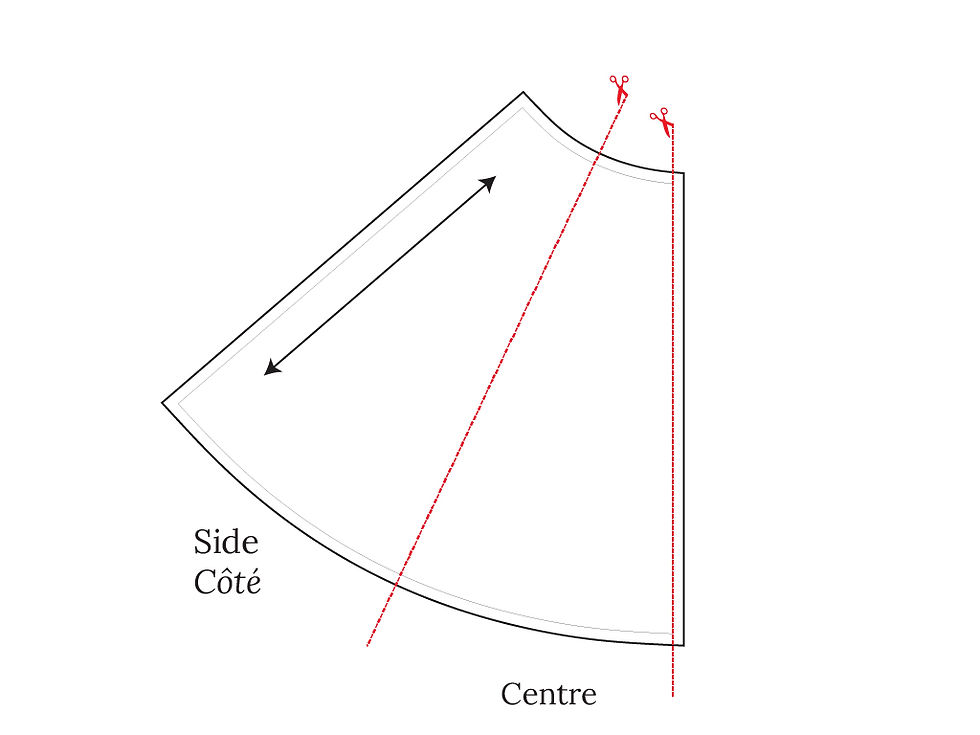
Step 2: Add seam allowance to the cut edge of the side piece and the centre piece (1.5 cm / ⅝”). Add the “cut on fold” arrows to the centre piece at the centre front/back and redraw the grainline parallel to it.
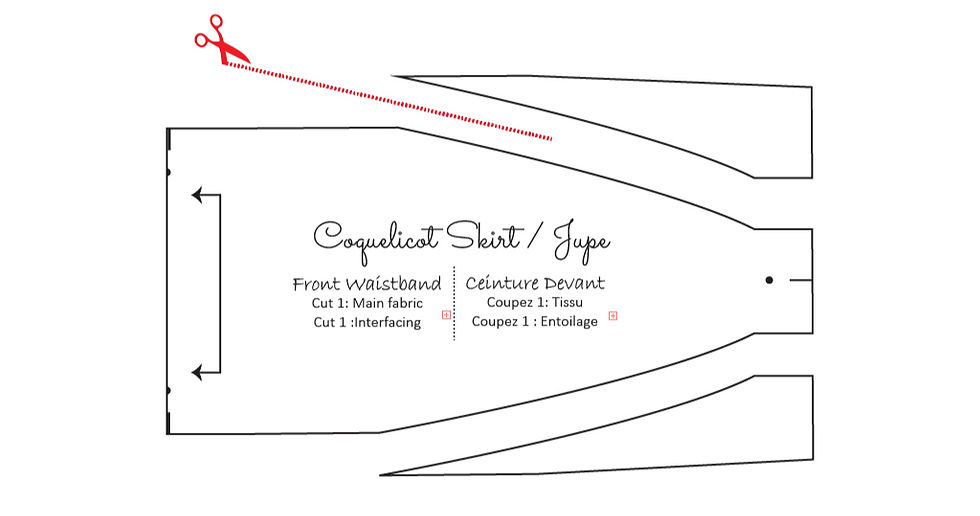
Front Waistband:
Next we will need to adjust the front waistband so that the outer ends are narrower to match the little ties we will be adding:
Step 1. From the central notch of the short end of the waistband mark 2 cm (3/4") above and below it so that the width of that end is 4 cm (1 1/2") in total. When I did it on mine it ended up being 5 cm (2") total as you can see that it is slightly wider than the ties, which also looks ok too!
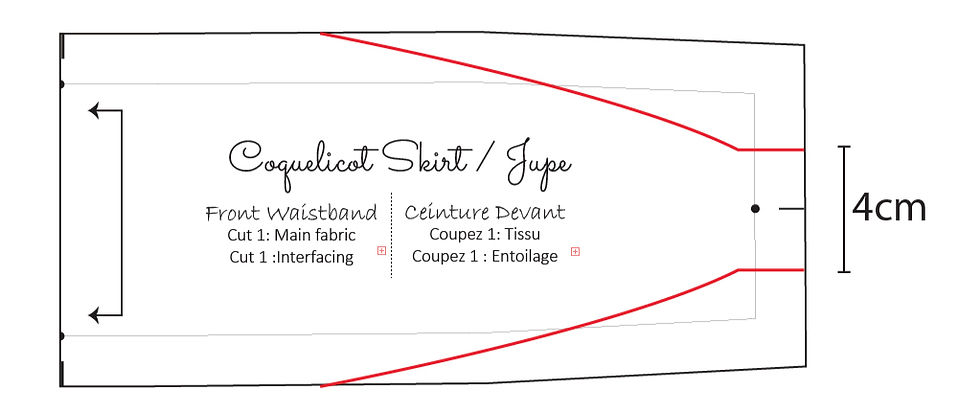
Step 2.
Connect the narrowed part to midway along the waistband pattern piece in a smooth curve and trim off the excess.
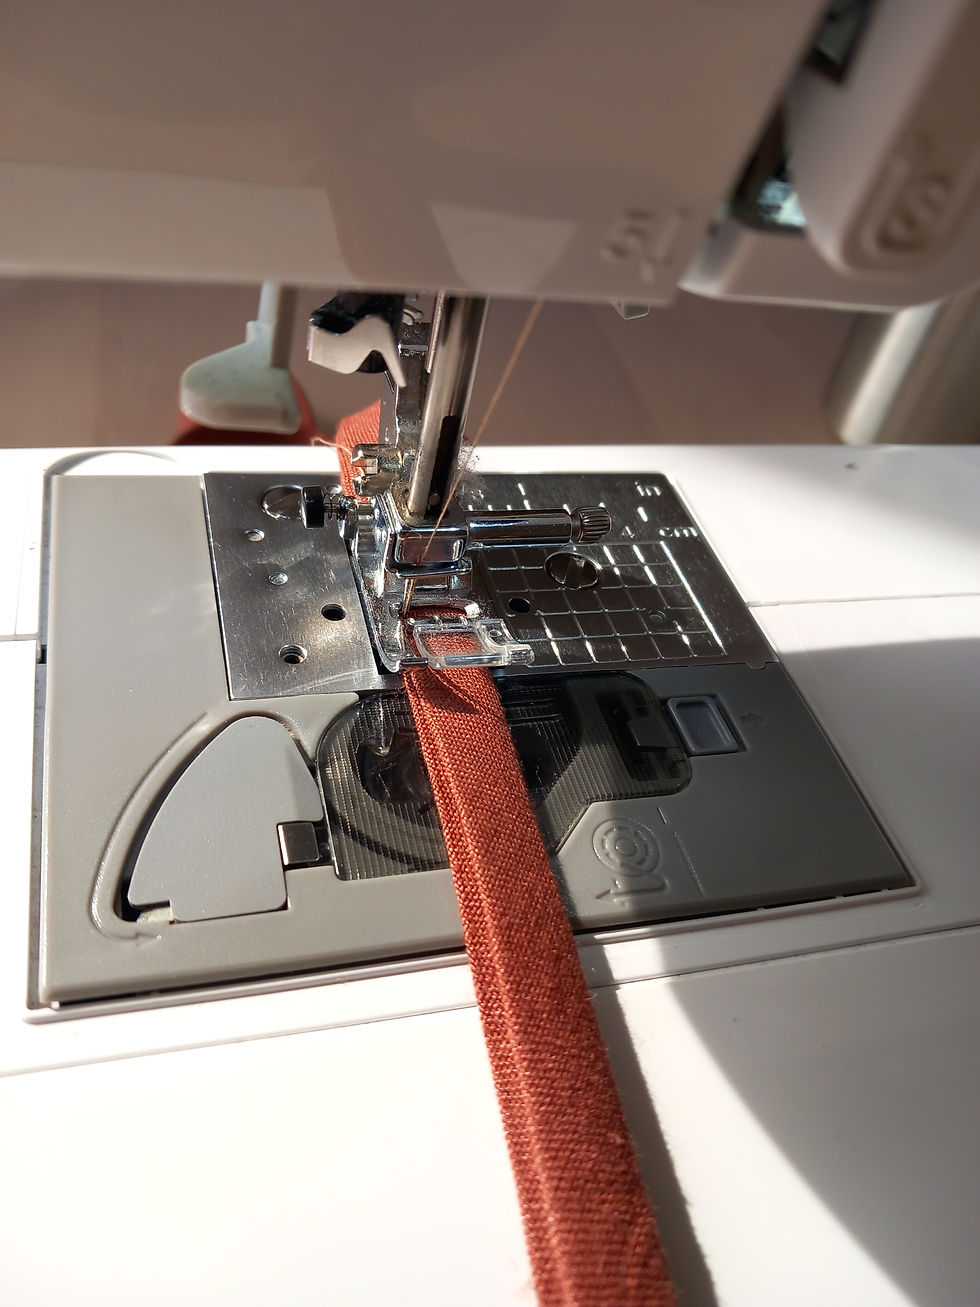
Ties:
To create the ties, cut out strips along the bias of your fabric that are 4.5 - 5 cm (2") wide. You will create it in the same way you would be creating the lacing loops as in the instructions on page 11 (Step 5). The ties will end up being about 1-1.3cm (3/8"to 1/2") wide once pressed since the width reduces slightly as the bias is stretched when pressing and sewing the ties.
Length of the ties:
Attached to each side of the front waistband: 50 cm (19") on each side =100cm (39")
Attached to the back waistband: one continuous piece: length of the back waistband for your size + 100cm (39")
Plus a bit extra (about 50cm / 19") for the decorative bit at center back (optional)
Attaching the ties to the front waistband:
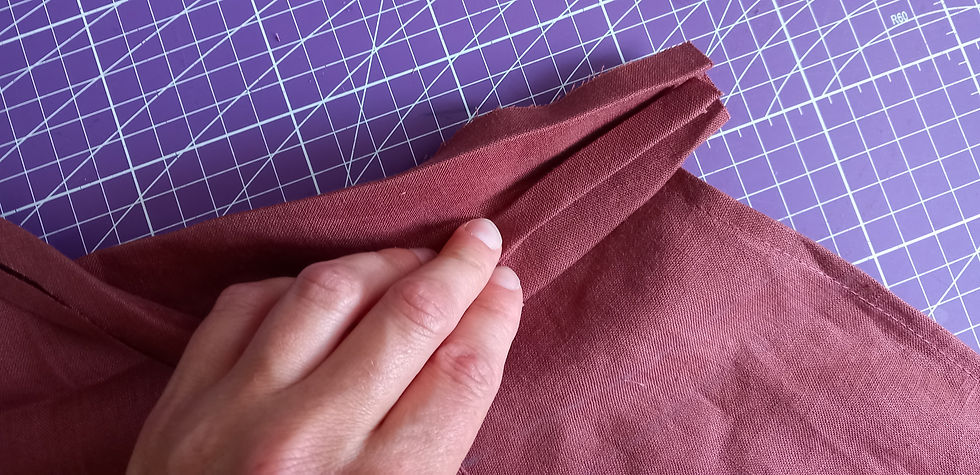
Sew the front waistband to the front skirt right sides together then press the waistband upwards towards the seam allowance of the skirt waist. Turn in and press the raw edge of the waistband towards the wrong side by 1.5 cm (⅝").
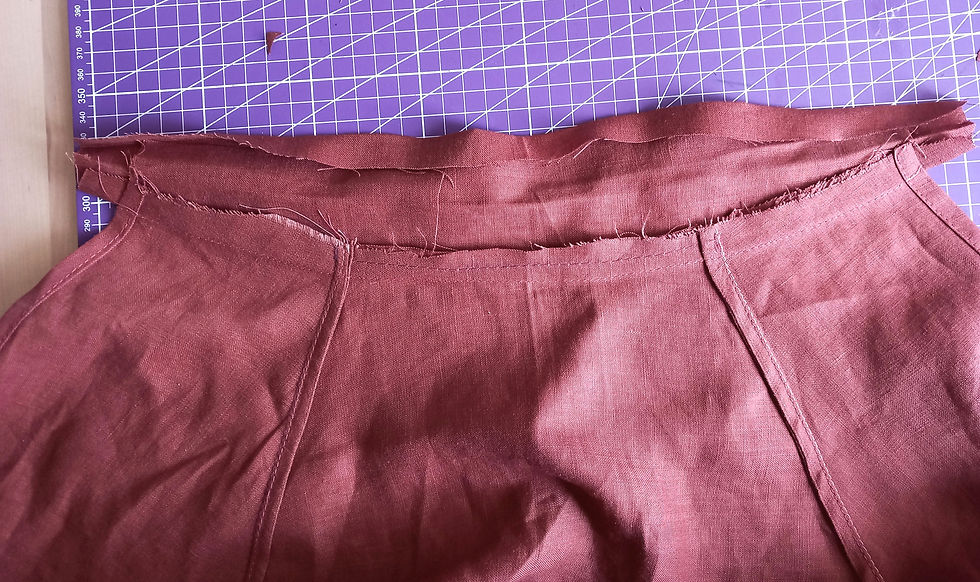
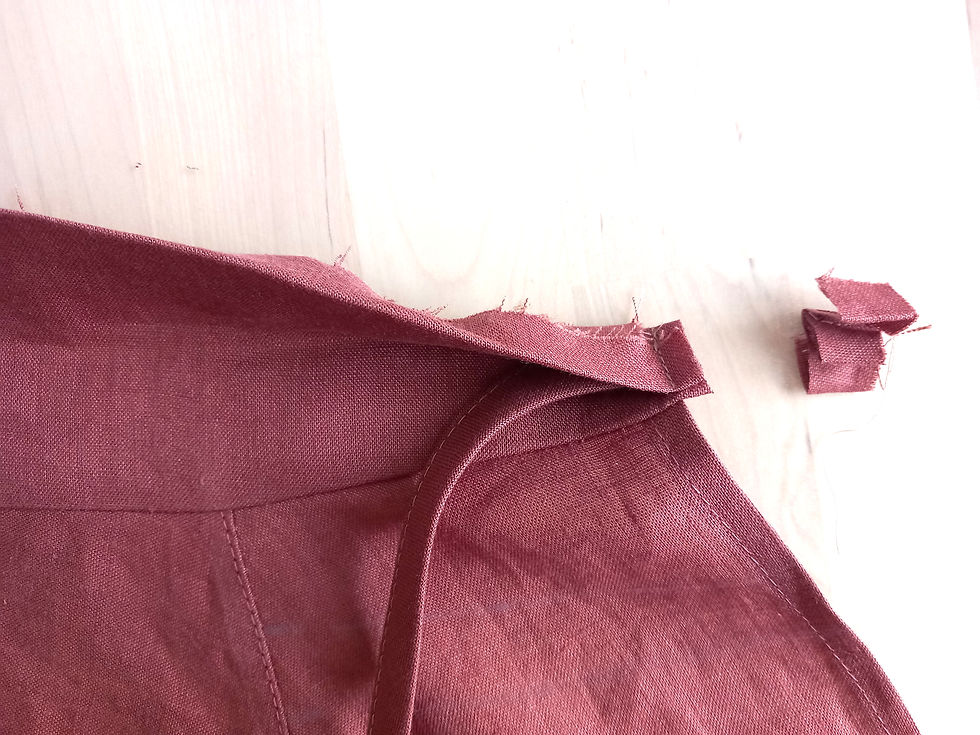
Then fold the waistband in half horizontally so that right sides are together. At each extremity, insert each front tie sandwiched in that fold and sew the ends down at the edge where the skirt meets the waistband. Trim the excess away and then turn it out to the right side.
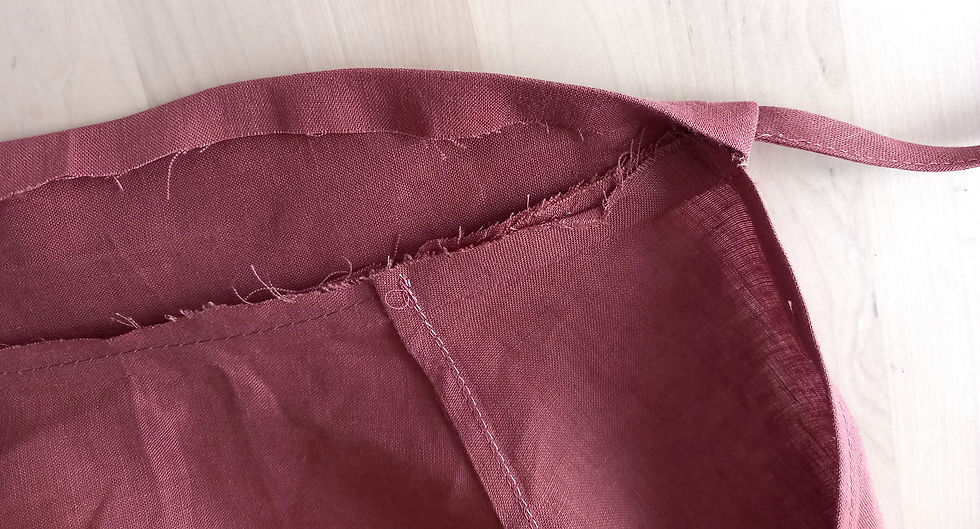
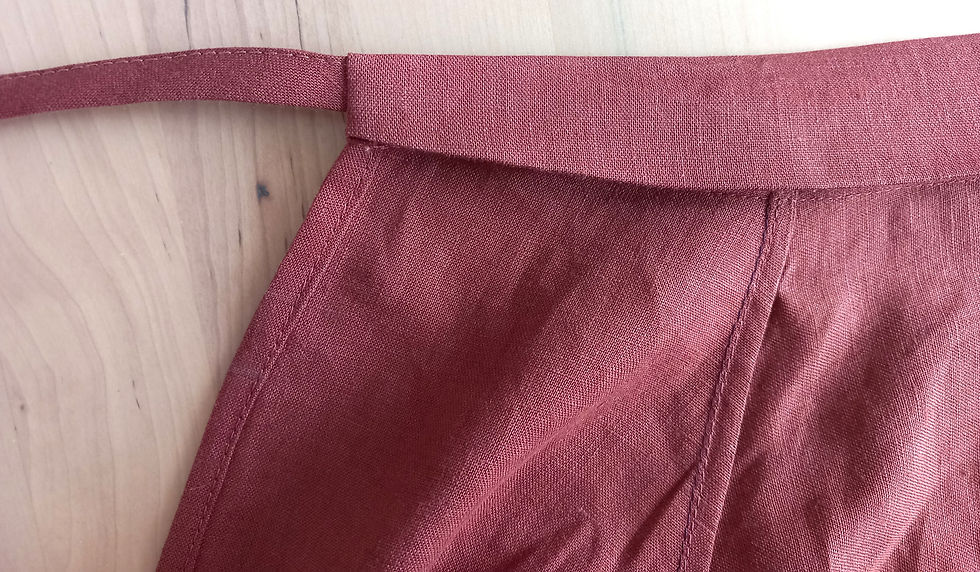
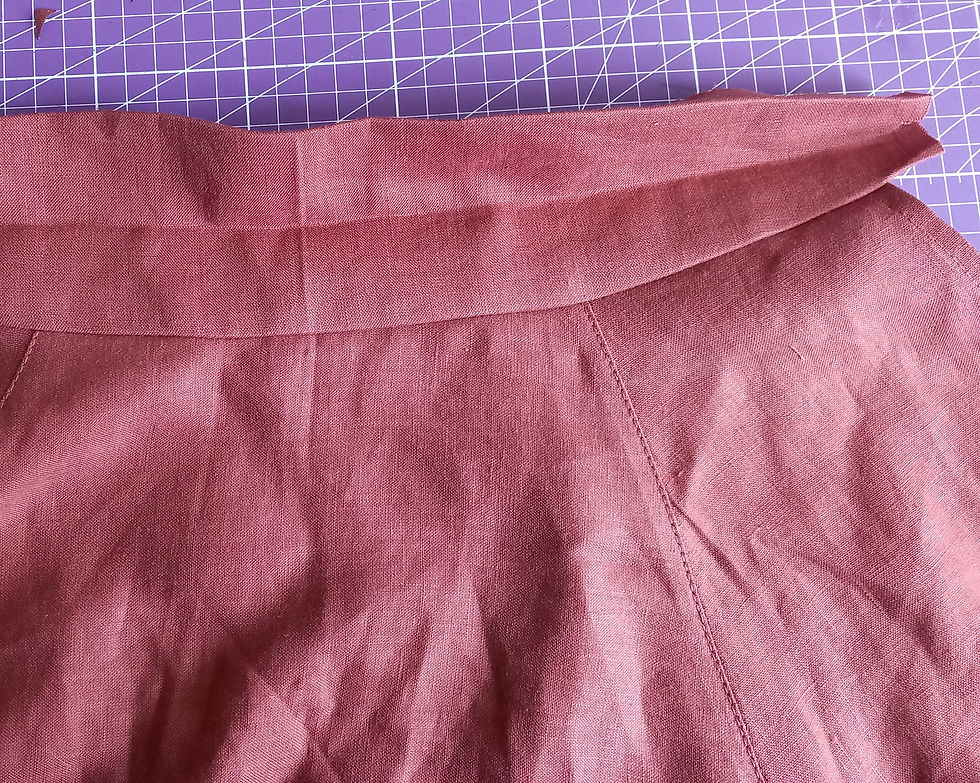
Now you can topstitch down the waistband or sew it by hand.
Finish sewing the skirt as instructed in the instructions booklet….
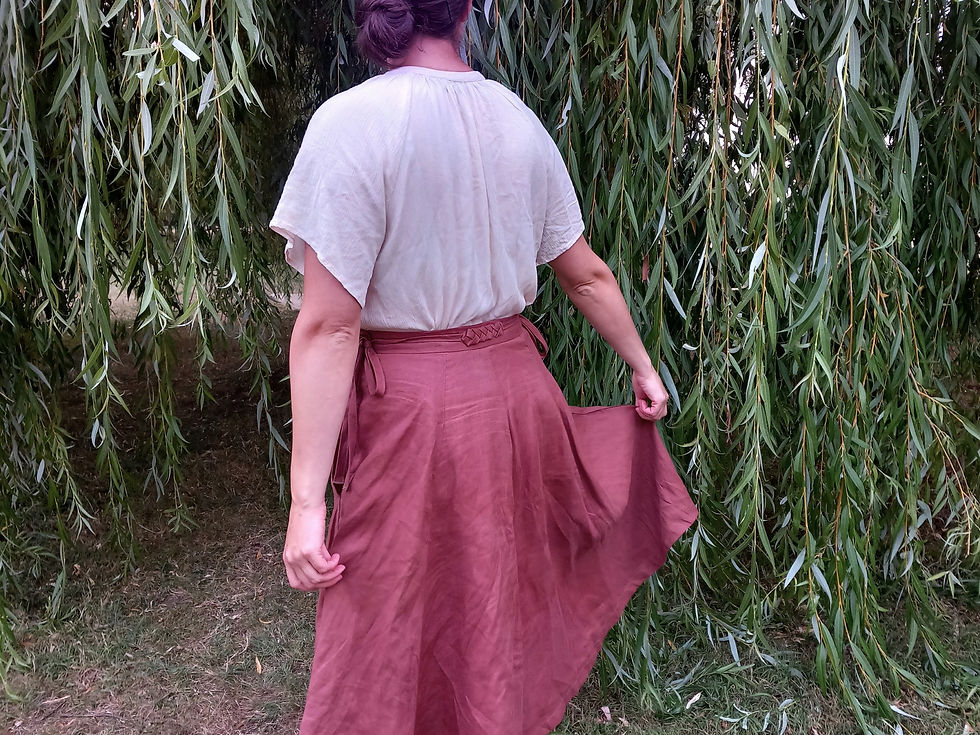
Back Waistband Ties:
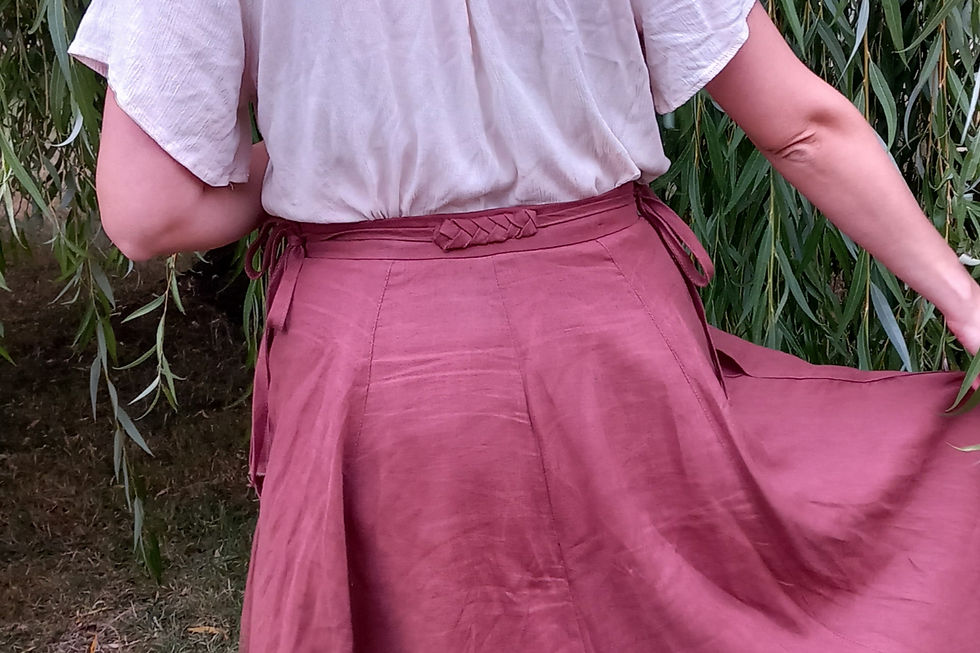
Take the back tie and place the center of it at the center back and topstitch it down. I created a decorative braided cover over the center back by stitching 3 ties together then braiding them. I tried to make the braid as flat as possible. Once you are happy with how it looks, stitch the end together and turn in each of the ends, handsewing it to the back of the braid. Handsew the braid over the center back to cover the stitched part of the ties.
(I apologize for not getting any photos of this step! I finished this portion while camping in the evening and the light wasn't ideal for pictures)
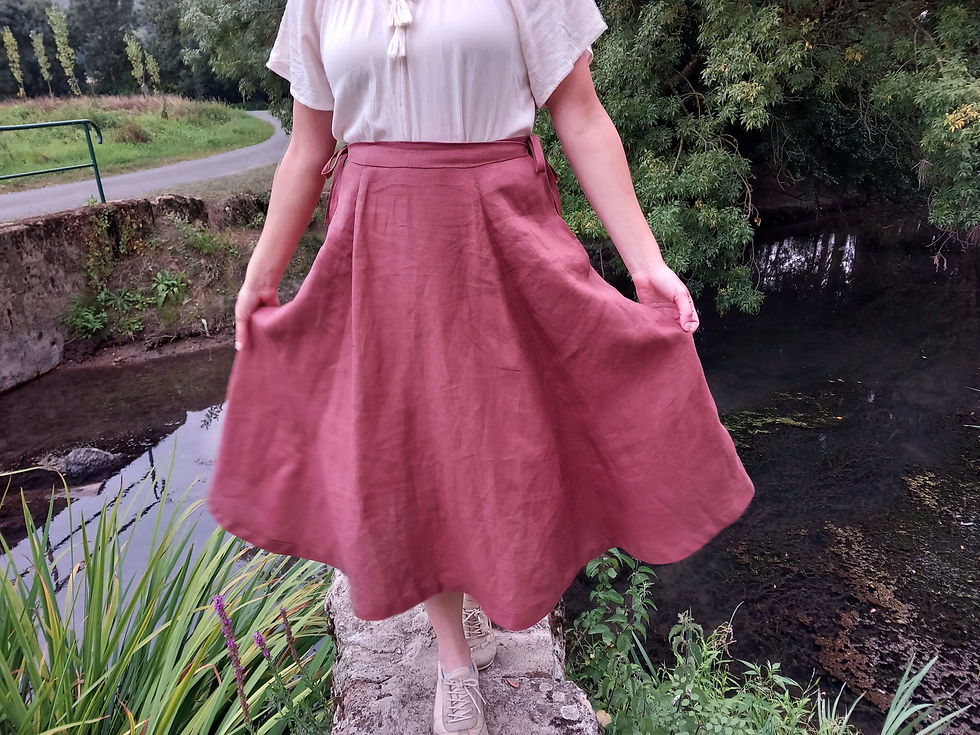
Final Thoughts...
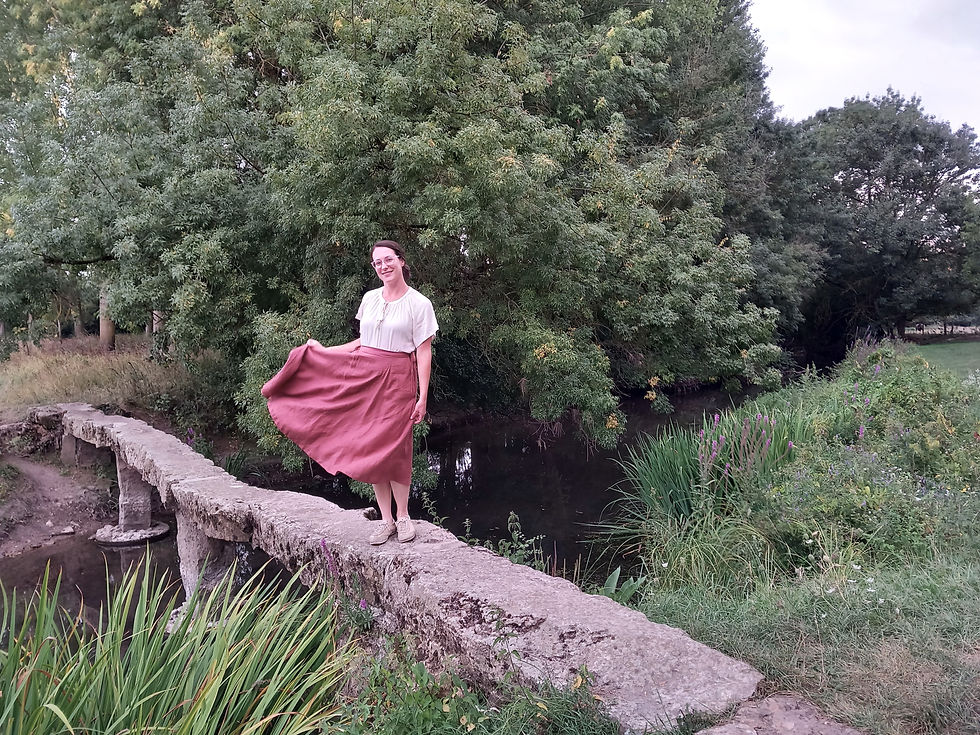
I love how it turned out! I love how the mini ties are less bulky than the original pattern, and they look super cute! I do think however that the front center panel drapes a bit oddly at the seam in this linen, and I think it has to do with the angle of the edge of the center front. The angle at center front of the original pattern is more than 45 degrees, so I think when I try this hack again I will reduce the angle before adjusting the pattern piece into 2 pieces.

But overall I am very pleased and I love this breezy linen skirt!
What do you think? Would you give it a try?
Happy Sewing,
Melanie


